
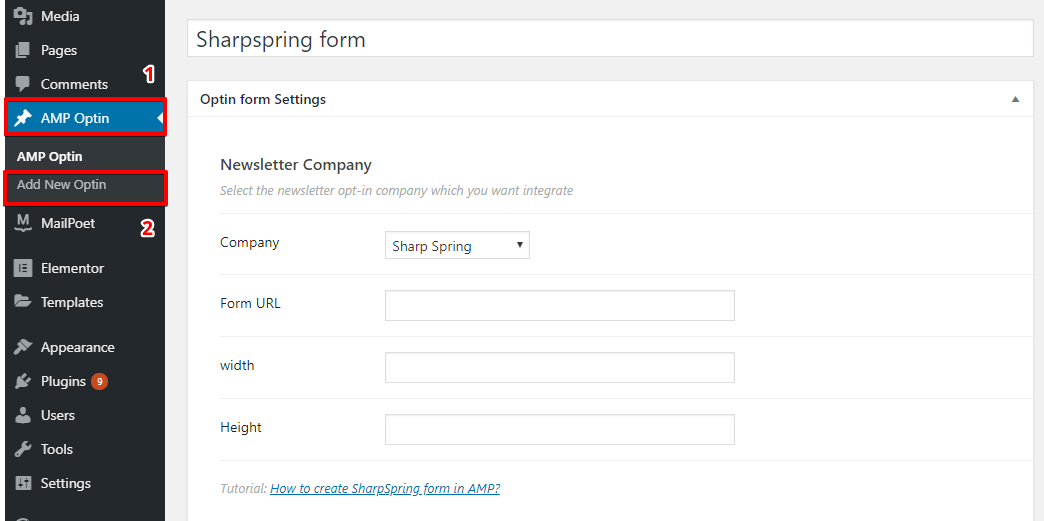
After installing you will find this option in WordPress Dashboard -> AMP optin -> Add New optin -> select “ Sharpspring ” option -> now you need Form URL.
Follow the simple steps to get all this ID’s from Sharpspring Account.
Step 1: First of all Login/SignUp at Sharpspring.
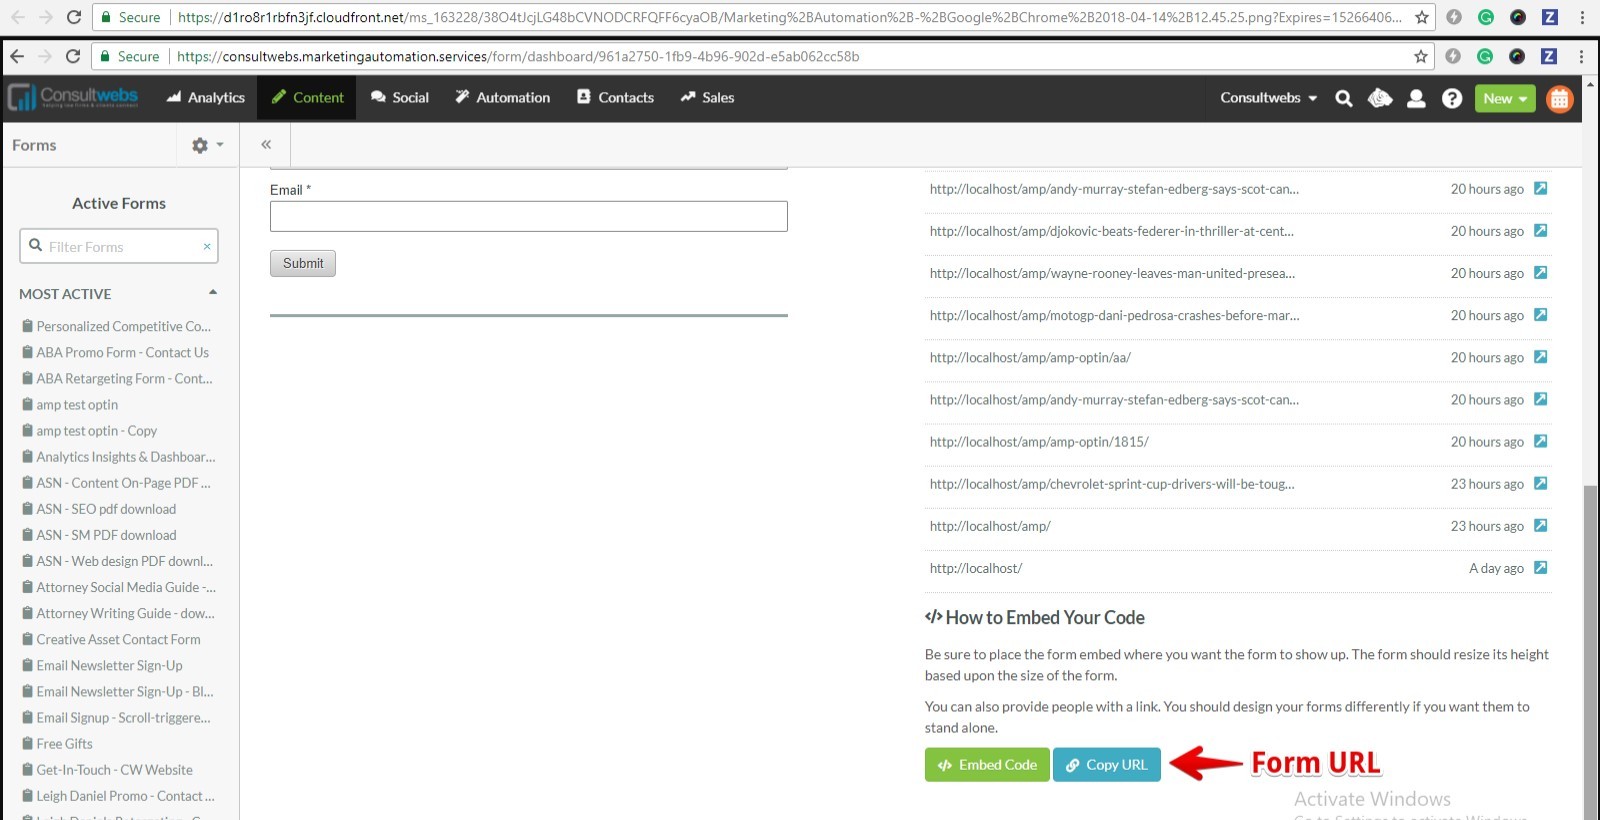
Step 2: Go to the bottom of that specific form and copy the form URL and Paste this form URL in AMP Opt-in form.
Step 3: Create a new AMP Opt-in

Step 4: Now select Sharpspring from Dropdown and add the link which we have copied place where you want to display the Sharpspring Form.
 Step 5: Enter the headline, description and some extra text will the help of an editor

Done: Now you can use that shortcode for displaying on your website And you can also use the position option for displaying the AMP optin without manually adding the shortcode
Step 6: Go to the WordPress Admin Area -> AMP option panel-> AMP optin -> Postion select the required opt-in.

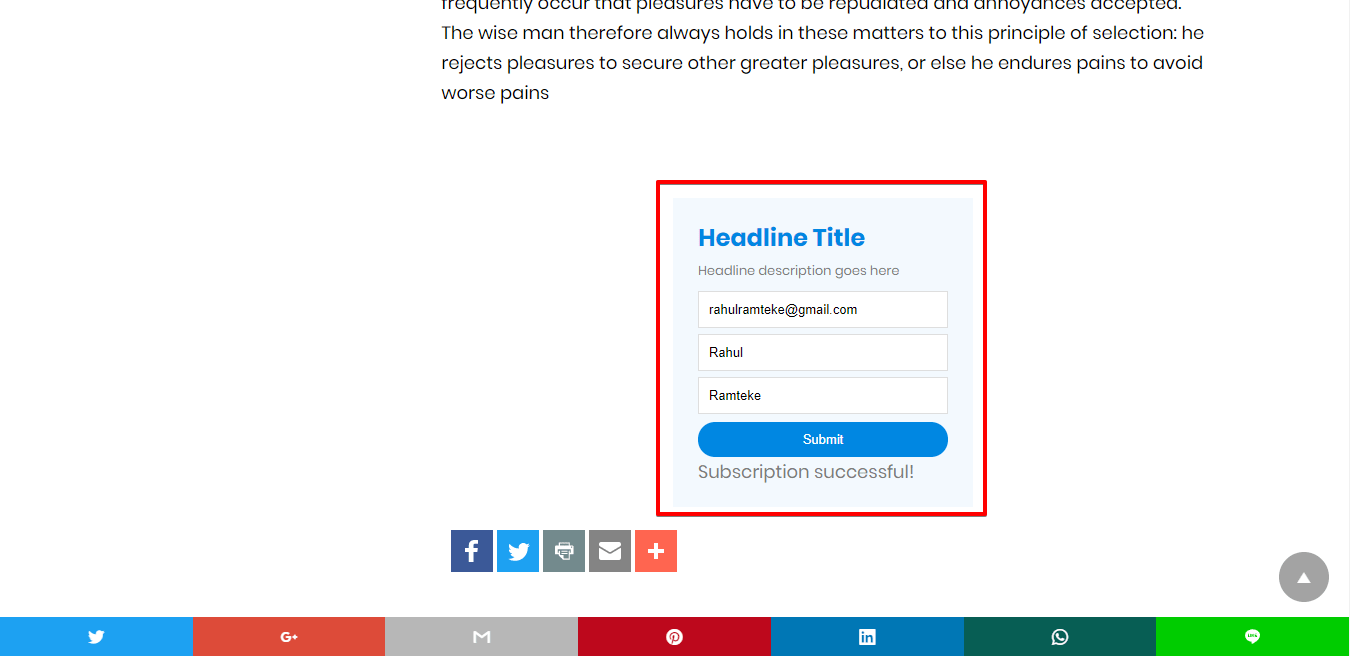
The Output of the Sharpspring form in AMP
Make sure you need to fill this form and then click on the submit button after that you will get the “Subscription successful” message.
That’s it for this tutorial!
We hope it helped you. If you have any feedback or questions, then please share them in the comments section below.