
If you want to add an AWeber form in AMP then first you need to purchase and install Opt-in Forms for AMP plugin and after installing the extension, please follow the steps below.
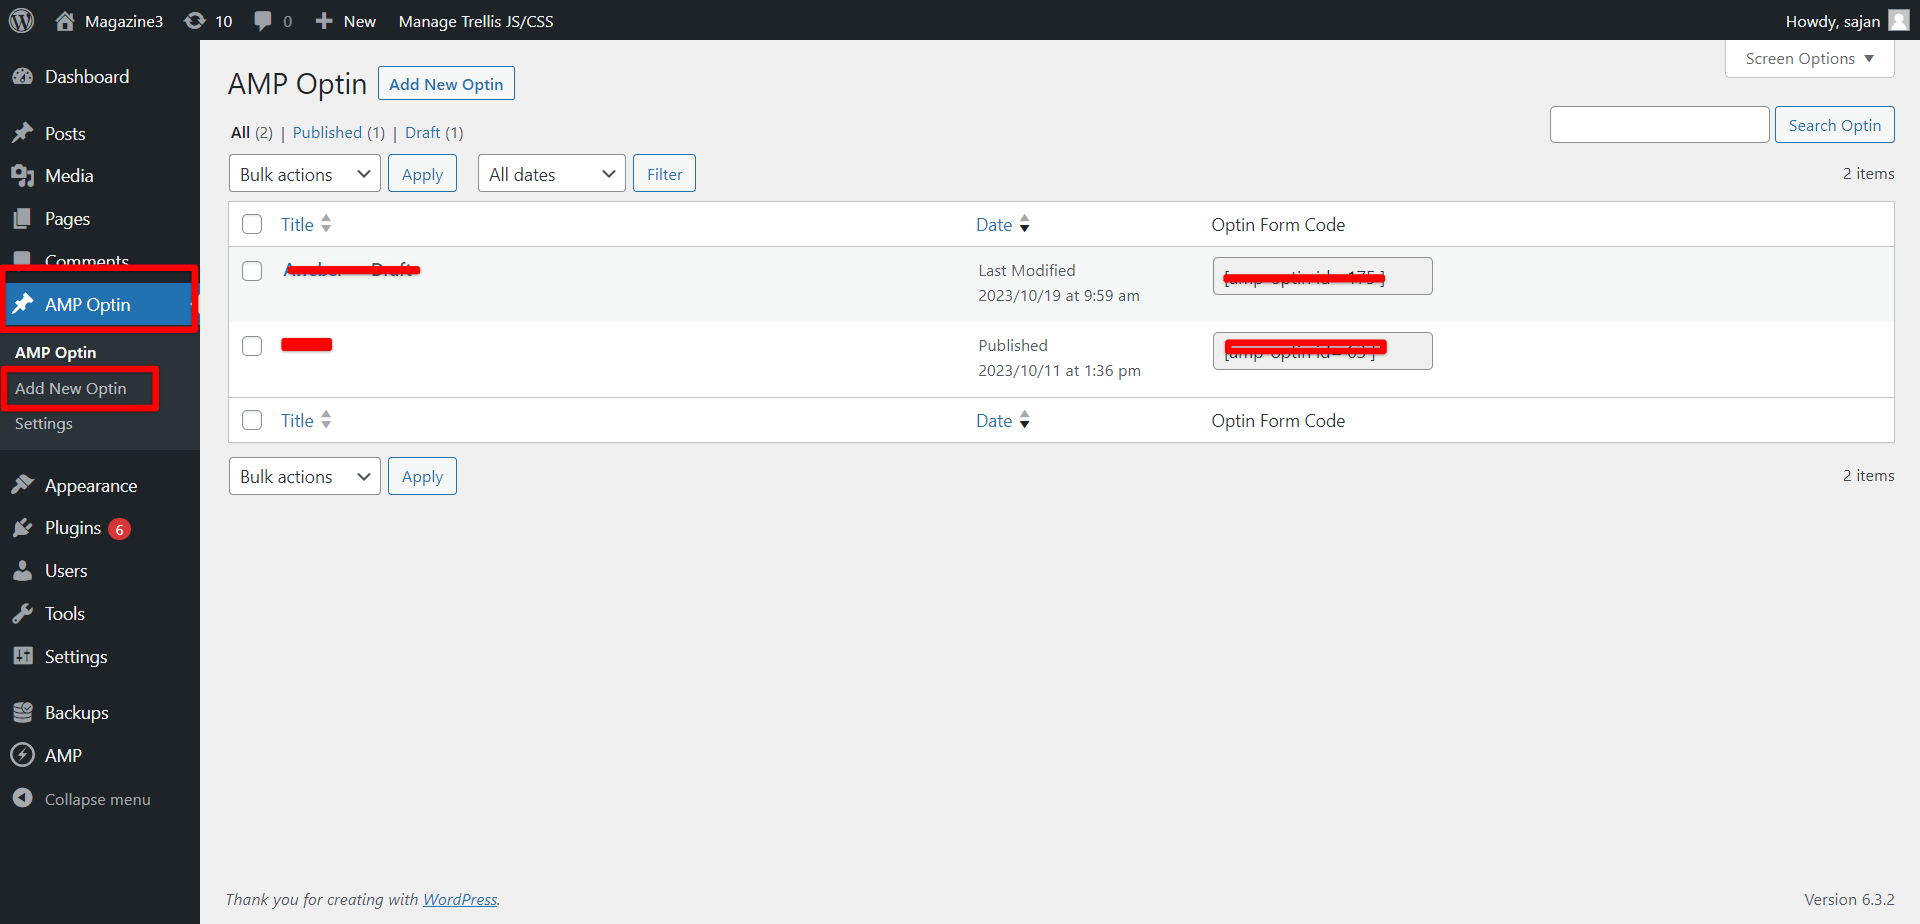
Step 1: Navigate to the AMP Optin settings that you can find it under your WP-Admin Dashboard and click on Add New Optin to create a new optin form.
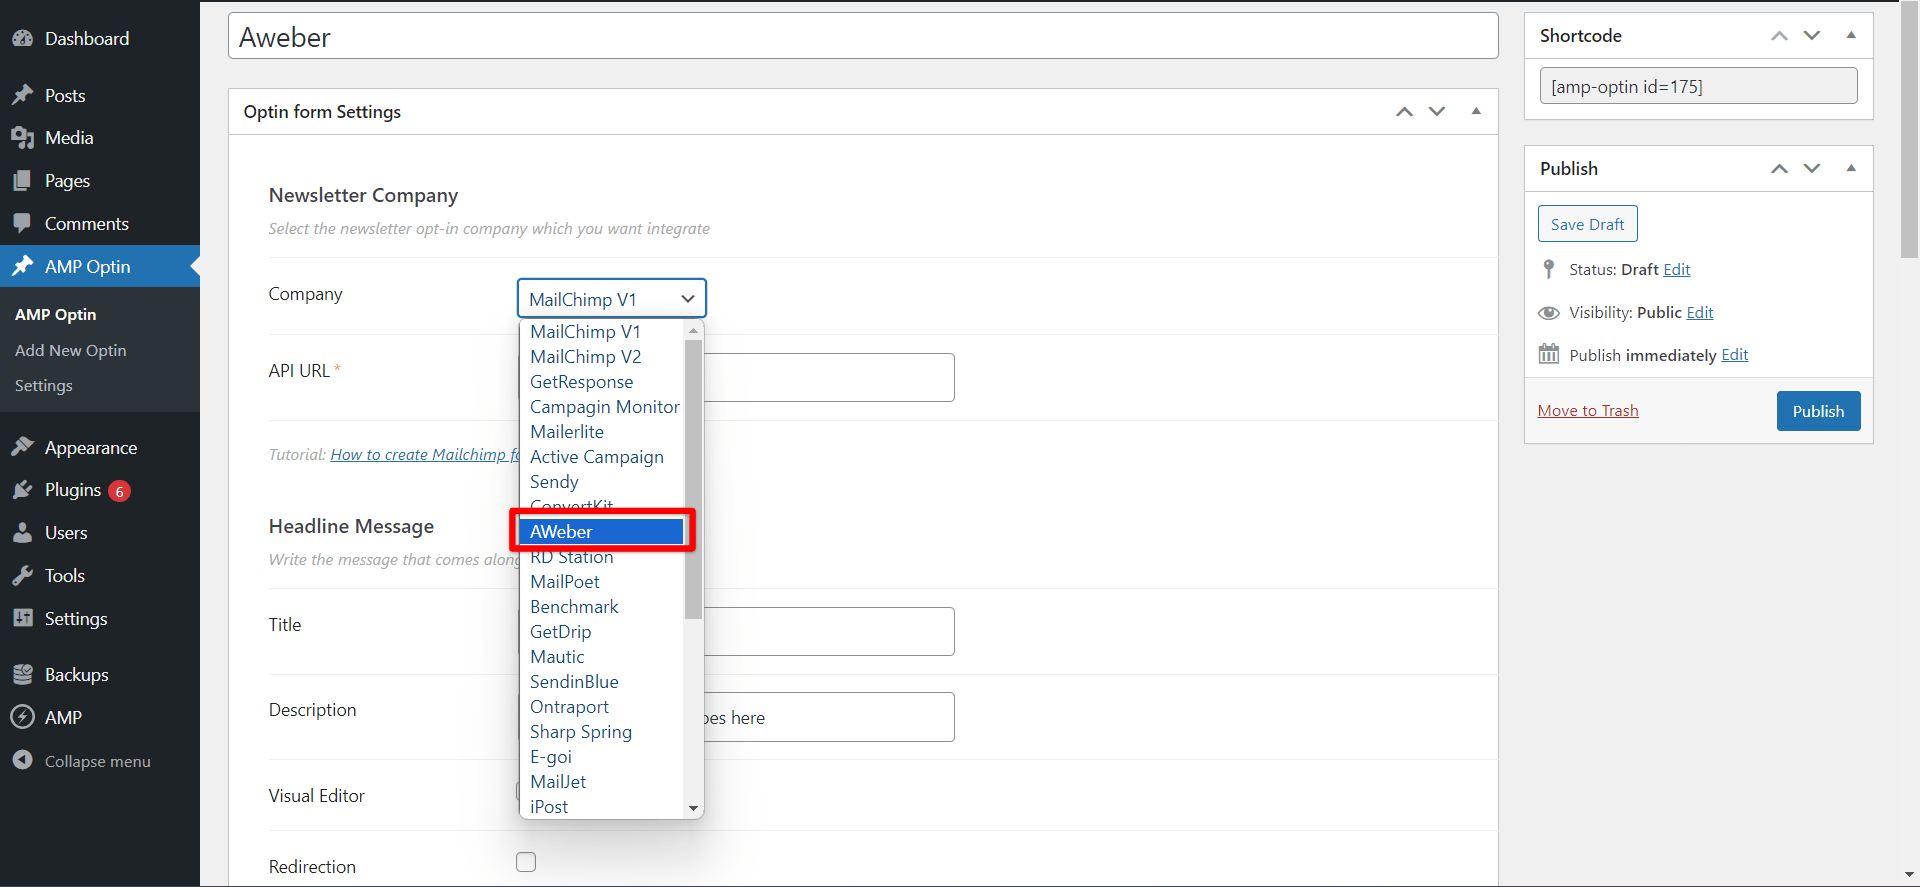
Step 2: Once you have created a new form, you have to select the Company, please select AWeber from the dropdown
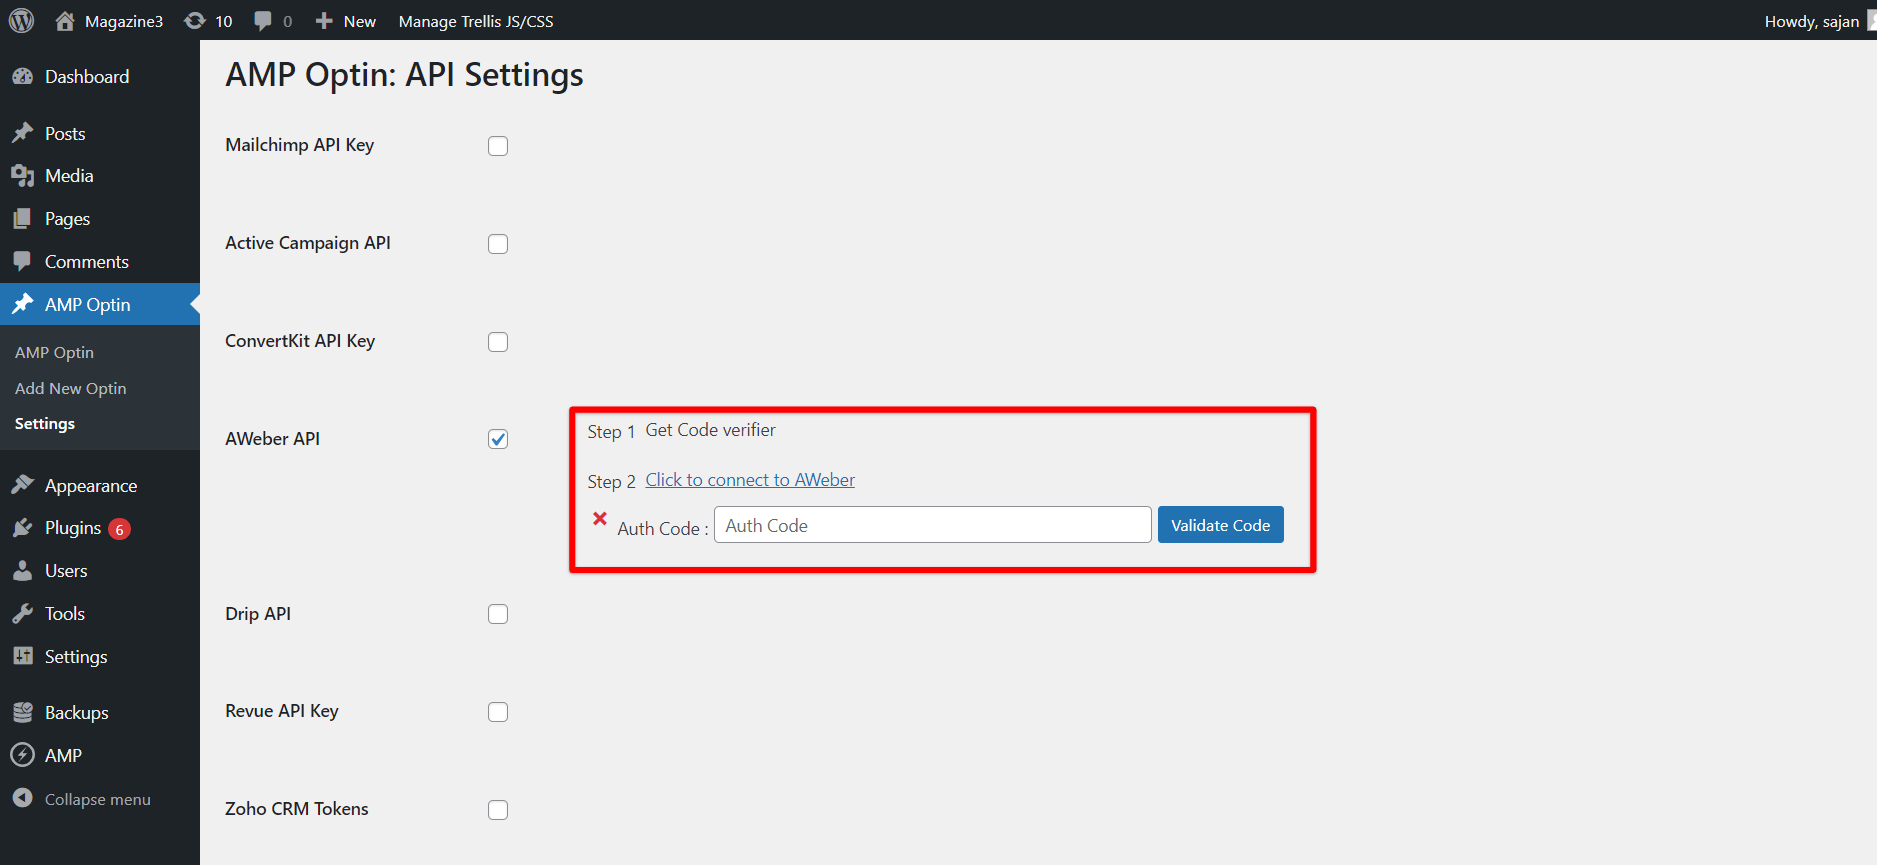
Step 3: After selecting the AWeber form, you have to connect your AWeber account using an API key which you can generate by clicking on the link Click Here as shown in the screenshot below.

Step 4: After clicking on Click Here you will be redirected to the page where you have to check AWeber’s checkbox > click on Click to connect to AWeber and by this you will get an API that you can add to the Authentication code Box and click on Validate the code.

Note: After following the steps above your AWeber account will be connected to AMP Optin and once your account is connected you have to find the List ID that you can add to the form which will help you to record the form responses.
Please follow the steps below that will help you to find the List ID from your AWeber Dashboard.
- Log in to your AWeber Account: Visit the AWeber website and log in to your account using your username and password.
- Access the Lists Page:
- Once you’re logged in, you’ll be on your AWeber dashboard.
- In the dashboard, you should see a menu on the left-hand side. Click on the “Subscribers” menu or something similar depending on the version of the dashboard.
- View Lists:
- Click on “Lists” or “Manage Lists.” This will take you to a page where you can see all your email lists.
- Find the List ID:
- On the “Lists” page, you’ll see a list of your email lists.
- Next to each list, there should be an option to “Edit List Settings” or something similar. Click on that option for the list you want to find the List ID for.
- Locate List ID:
- Inside the list settings, you should find the List ID. It is typically displayed on the settings page along with other information about your list.
- Please note that the exact layout and location of the List ID may vary slightly based on updates to the AWeber dashboard. If you have trouble finding it, you can also reach out to AWeber’s customer support for assistance.
- Remember to keep your List ID private as it’s an important identifier for your email list and is used to integrate your list with other applications and services.
Step 5: Now, that you have the List ID, you just have to add it to the option List-ID under the Company dropdown and your Aweber form is ready
Step 6: As your form is ready now, you can just copy the Form shortcode from the top-right side of your dashboard and add it to the page you want to show the AWeber form.

The Output of the AWeber form in AMP
Make sure you fill out this form and then click on the Submit button after that you will get the “Subscription Successful” message.

That’s it for this tutorial!
We hope it helps you. If you have any feedback or questions, then please share them in the comments section below