
Your WordPress website needs computer memory to function. Sometimes, the memory allocated may not be enough to run your site
When your WordPress code requires more memory than the default allocated memory, you get to see this error “Fatal error: Allowed memory size” like below the screenshot.
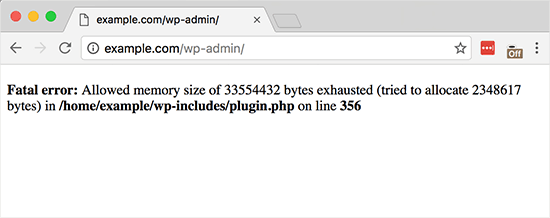
By default, WordPress first tries to increase your memory limit to 64mb. Seeing this error indicates this size is still not enough, or in some cases, your server prevents the allocation of more memory.
Increase PHP Memory Limit in WordPress
You can manually increase the memory limit in WordPress by editing the wp-config file.
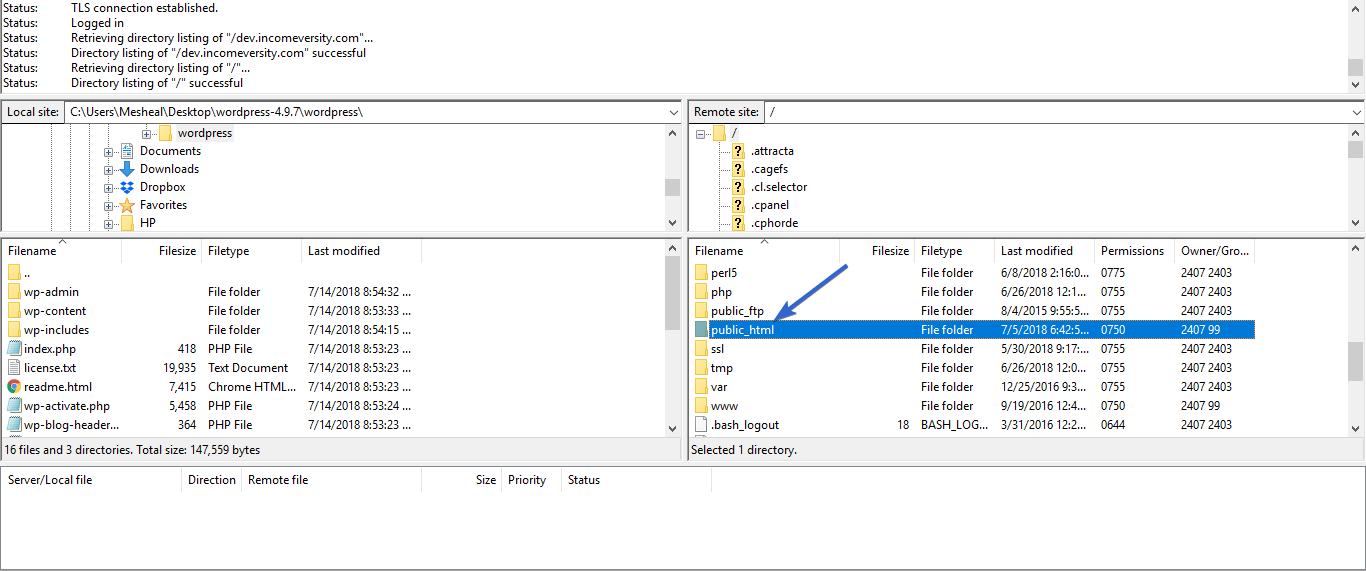
Step 1 – First, you need to edit the wp-config.php file on your WordPress site. It is located in your WordPress site’s root folder, and you will need to use an FTP client or file manager in your web hosting control panel.
Step 2 – When connected, your site folders and files will be displayed in the bottom right of your screen. Look for the folder containing all your WordPress files and double-click to open it.
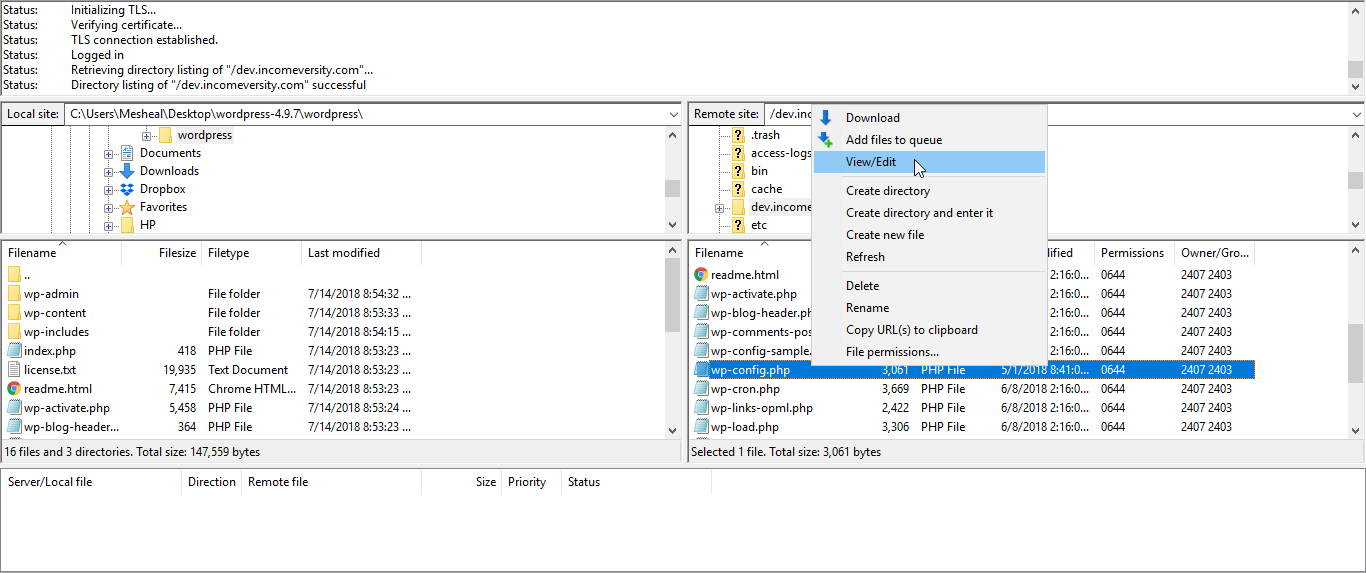
Step 3 – In this folder, locate your wp-config file, right-click on it, and click View/Edit.
Step 4 – When the file opens in your text editor, scroll towards the bottom to find the line you need to paste this code in the “wp-config.php” file just before the line that says ‘That’s all, stop editing! Happy blogging.’
define( ‘WP_MEMORY_LIMIT’, ‘256M’ );
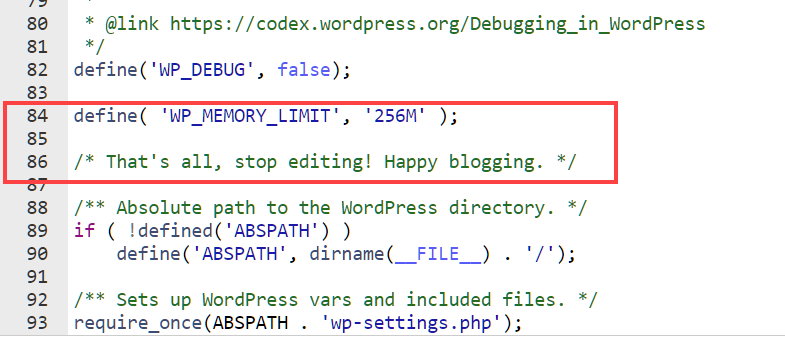
This code tells WordPress to increase the PHP memory limit to 256MB.
Step 5 – Once you are done, you need to save your changes and upload your wp-config.php file back to your server.
Step 6 – Now reload your site. The problem should be fixed and your site should display properly.
That’s it for this tutorial!
We hope it helped you. If you have any feedback or questions, then please share them in the comments section below.