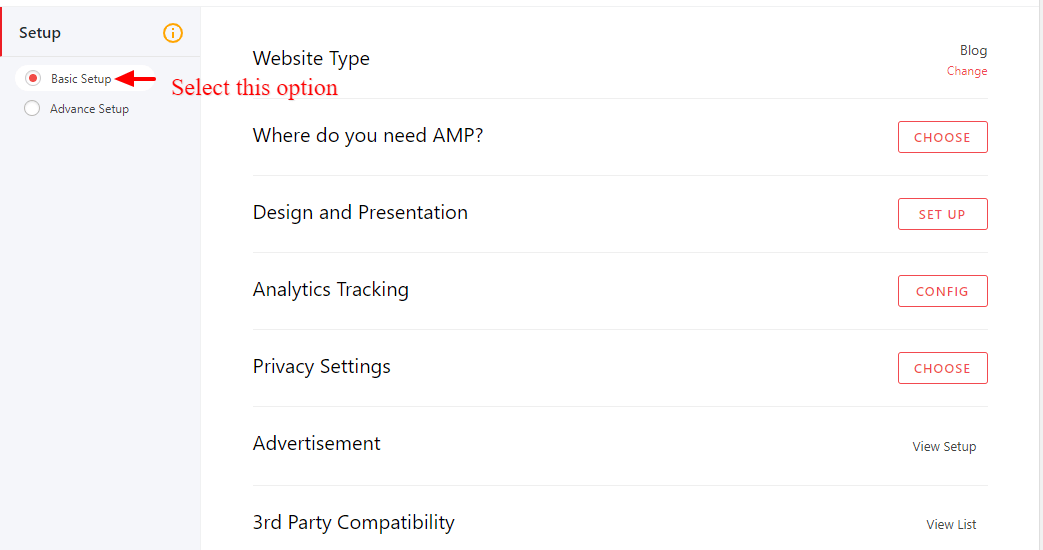
Once you install and activate our AMPforWP plugin then we will have these two options
If you are a new user then I recommend you to use Basic Setup View because these are the main settings and once you set up that you are AMP is ready.
If you want to change where do you need AMP then you need to click on Change link like below the screenshot.
In this option, you can select where do you need AMP just you need to check this option on this page AMP will be displayed.
After you finish the installation, you need to access the AMP version of your site which you can do by adding /amp at the end of the URL (for example: website.com/amp ) – and you will see the AMP version, if yes, then AMP has been installed properly. Also, do the same with one or two of your posts to verify.
Once you setup the AMP then you need to check and make sure that all your AMP pages are valid and to check that you can follow this link.
That’s it for this tutorial!
We hope it helped you. If you have any feedback or questions, then please share them in the comments section below.
Follow these steps to add Adobe Analytics in AMP Step 1: Go to WordPress Admin Area -> AMP…
Core Web Vitals are the subset of Web Vitals that apply to all web pages,…
The following reasons can be shown for non-indexing. Server error (5xx) Your server returned a 500-level…
We have added the Google Analytics 4 ( GA 4 ) integration in AMPforWP v1.0.80.…
In this article, I will show you how to add Dotmetrics Analytics to your AMP…
In this option, we will show you how to modify the H1-H6 size for mobile…