


That’s it for this tutorial!
We hope it helped you. If you have any feedback or questions, then please share them in the comments section below.
ACF is a powerful tool and now it can be used on AMP with the help of ACF for AMP. In this article, we will see an overview of the ACF for AMP plugin.
Here are the steps:
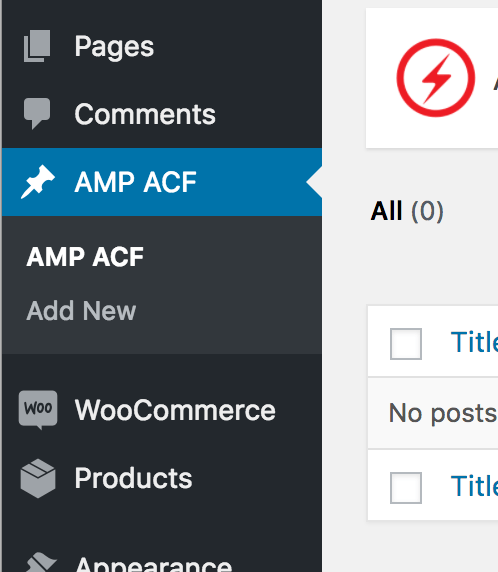
Step 1: After you have downloaded and installed on your WordPress installation, you will see a new section on the left sidebar area.
1. Title: This is a Title area just for your own reference.
2. Location: Select the location where you want to display the fields. Under the Location section, there are two options.
The first one ‘Show Data on’ allows controlling the pages where the fields will display, such as Posts, Homepage, Archives or displaying it Globally.
The second option ‘Where you want to show the content?‘ helps you to display the data differently the areas within the selected page (the one we selected on the first option).
Once you select the shortcode (manual) option shortcode meta box will be displayed from where you can copy the shortcode and paste whereever you want to place in Pages /Post.
3. Conditional Logic Placement: This is an advanced option that allows you to handle the placement anywhere you want. You can target any page, Post type, taxonomy with the help of this. You can also add another logic which makes it more magical. This a very powerful tool to handle the views of the data.
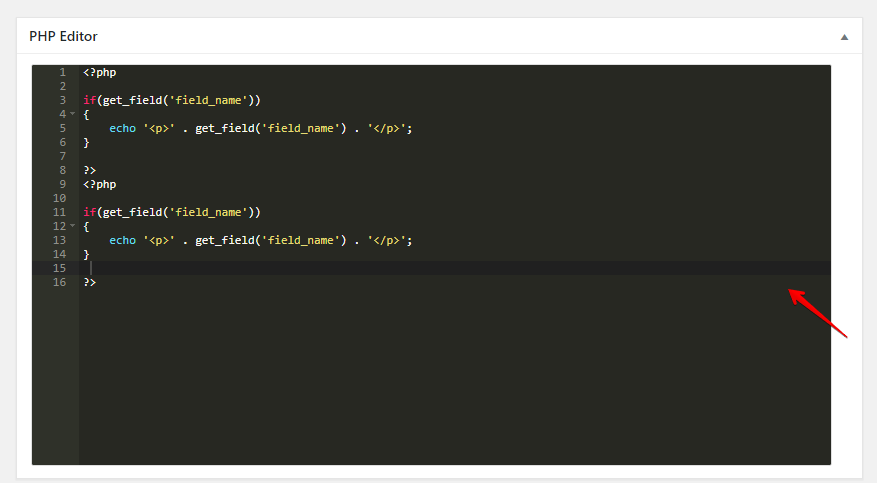
4. PHP Editor: This is where you would enter your field code. Just like you have to enter a small line of PHP code like the_field(‘field_name’); to display field in ACF in the WordPress template. you need to add the same code. You can use any one of the examples mentioned in the ACF documentation.
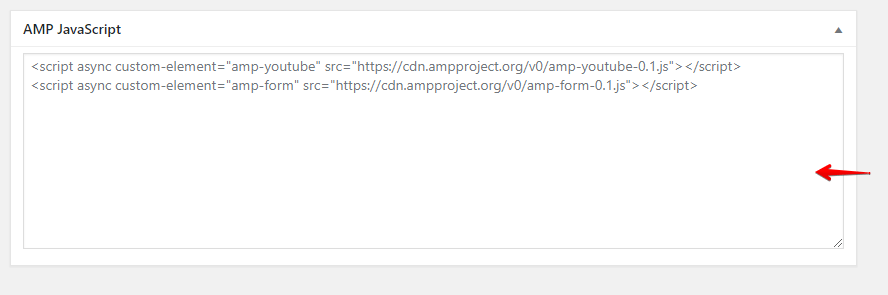
5. AMP Javascript: This field is only required if you are using some special AMP markup in the PHP code editor that requires an AMP JS. An example would be <amp-carousel> which requires us to load the amp-carousel.js file. If you are displaying the fields normally then it’s not required at all.
Here are some examples of code which you can use in the PHP Editor. Please note that these examples are for demo purpose, if you copy and paste them then it doesn’t Auto-Magically starts to display the fields, you would have to actually use the right field ID.
1. Display a field
<p><?php the_field('field_name'); ?></p>
2. Retrieving a field as a variable
<?php

$variable = get_field('field_name');

// do something with $variable

?>
3. Using conditional statements
<?php

if(get_field('field_name'))
{
	echo '<p>' . get_field('field_name') . '</p>';
}

?>
4. Working with Array values (checkbox, select, relationship, repeater)
<?php

$values = get_field('field_name');
if($values)
{
	echo '<ul>';

	foreach($values as $value)
	{
		echo '<li>' . $value . '</li>';
	}

	echo '</ul>';
}

// always good to see exactly what you are working with
var_dump($values);

?>
5. Working with the Repeater Field
repeater can be accessed by get_field or the_repeater_field / the_sub_field
<?php if( have_rows('repeater_field_name') ): ?>

    <ul>

    <?php while( have_rows('repeater_field_name') ): the_row(); ?>

        <li>sub_field_1 = <?php the_sub_field('sub_field_1'); ?>, sub_field_2 = <?php the_sub_field('sub_field_2'); ?>, etc</li>

        <?php

        $sub_field_3 = get_sub_field('sub_field_3');

        // do something with $sub_field_3

        ?>

    <?php endwhile; ?>

    </ul>

<?php endif; ?>
That’s it for this tutorial!
We hope it helped you. If you have any feedback or questions, then please share them in the comments section below.
If you want to add an AWeber form in AMP then first you need to…
Webpushr is the fastest growing web push notifications platform that marketers love & developers rely…
Follow these steps to add Adobe Analytics in AMP Step 1: Go to WordPress Admin Area -> AMP…
Core Web Vitals are the subset of Web Vitals that apply to all web pages,…
The following reasons can be shown for non-indexing. Server error (5xx) Your server returned a 500-level…
We have added the Google Analytics 4 ( GA 4 ) integration in AMPforWP v1.0.80.…